
At first it seemed quite straight-forward, but the further we got into it, the more complicated, and the more steps we needed to follow:
Firstly, we created a map for our terrain/walls to follow. Of course, as our electronic board game Starship Raiders is going to be a 20mm sci-fi skirmish game based on the old ZX Spectrum strategy classic, Laser Squad, it only made sense that we "paid homage" to (i.e. absolutely did not totally rip off) the map from the first mission, Assassin Squad.

See - completely different to the moonbase map from the original Laser Squad.

Next, we drew 1" wide rectangles along each and every one of the walls on the map.

This was important, as it identified which wall sections were actually longer than a single multiple of one inch (where an exterior wall meets with another wall at 90 degrees, for example, we need to add another 3mm to allow for the thickness of the material we're working with).

Then we drew rectangular sections, one inch high and to the correct length for each wall section. Door shapes were cut from the rectangles, and where two walls joined, added a tongue on one section, and a groove on the other.

Every wall was carefully numbered, and the wall sections laid out ready for cutting.

When we were next at the Nerd Studio, it didn't take long to get the laser cutter fired up and running. Amazingly, just two sheets of A4 took about 25 minutes to cut completely. Maybe it was because of all those interlocking holes?

As the entire design was built for 3mm material, we used 3mm mdf for the walls. For the doors, we went for 2mm mdf (so that the doors might sit ever-so-slightly inside the door frames).

Carefully following the numbering on each piece, comparing to the layout in the original design, we glued the walls together in short sections. We're using PVA to ensure a good, strong bond, once the glue has dried. Unfortunately, PVA is not very good at holding the shape until it has dried fully, so we made up load of small sections and, only once they were fully dry, could we assemble lots of little sections into one, much larger piece.

(Lego bricks are ideal for ensuring perfect 90 degree corners on the wall sections)
The final terrain actually looks quite impressive, even without a coat of paint (or those aforementioned stickers). Amazingly, the whole thing fitted together correctly, the first time. We were expecting to be amended and re-cutting shapes for quite a while (it's very rare that anything goes from screen to perfectly-proportioned construction in our studio!) but this time, everything just slotted together, exactly as designed.

The miniatures in the photo above are 20mm scale, and the scale fits with the size of the terrain just right.
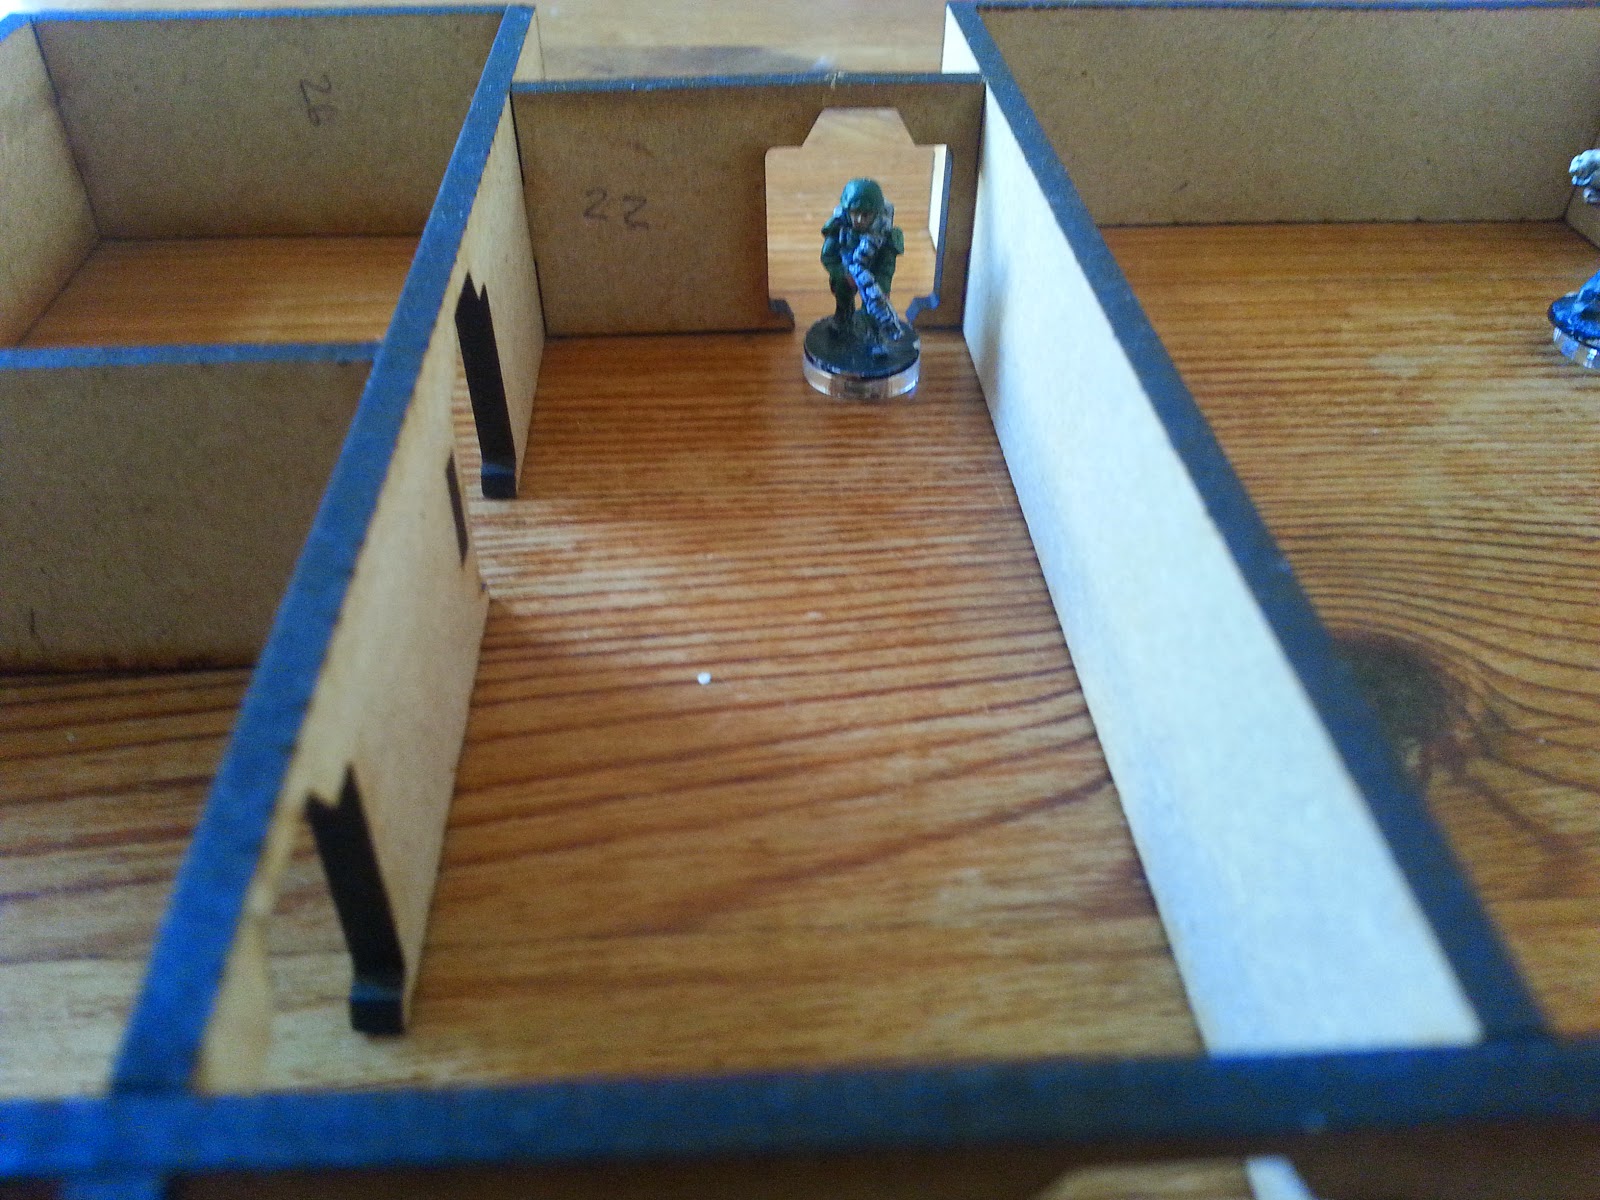
However - and it's quite a big however - while everything looks to be in proportion, there's something we're not quite happy about with the final results. At the end of all the designing, cutting and painting, we're creating terrain for a tabletop board game not a miniature replicate diorama for a tabletop display. This thing is meant to be functional, as well as look good.
And that's where the problem lies - it's actually not very easy to move the playing pieces around inside the walls - especially in some of the smaller rooms. The terrain may look nice on the tabletop, but it actually hinders gameplay. So it needs a revision.
Already we're working on a new design, with lower walls (but keeping the raised door arches - they're one thing we can't shrink down, as they still need to be tall enough for 20mm characters to pass through).

Hopefully we'll have some new laser-cut sci-fi 20mm terrain (also suitable for 15mm) by the end of the weekend!
No comments:
Post a Comment